Longhorn Installation Guide
Prerequisites:
- Kubernetes cluster: Ensure that each node fulfills the installation requirements. Install iscsi example for Rocky Linux
kubectl apply -f https://raw.githubusercontent.com/longhorn/longhorn/v1.6.2/deploy/prerequisite/longhorn-iscsi-installation.yaml
Your workstation: Install Helm v3.0 or later
Installing Longhorn (Only on Master Node)
- Add the Longhorn Helm repository:
helm repo add longhorn https://charts.longhorn.io
- Fetch the latest charts from the repository:
helm repo update
- Create Longhorn Values Configuration FileCreate longhorn-values.yaml to update the replica count ensures consistent configuration
defaultSettings:
  defaultReplicaCount: 1
persistence:
  defaultClassReplicaCount: 1
- Install Longhorn in the longhorn-system namespace with configuration.
helm install longhorn longhorn/longhorn --namespace longhorn-system --create-namespace --version 1.7.3 -f longhorn-values.yaml
- To confirm that the deployment succeeded, run:
kubectl -n longhorn-system get pod
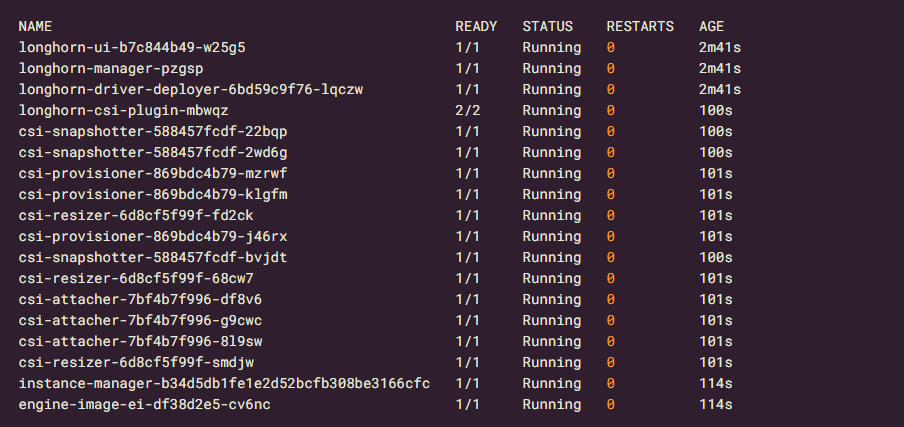
Note: To enable access to the Longhorn UI, you must set up an Ingress controller. Authentication to the Longhorn UI is not enabled by default.
Before deploying the 4px setup, ensure to follow the below steps after completing the Longhorn installation:Using WebUI (Recommended)
Edit the longhorn configuration
kubectl edit svc longhorn-frontend -n longhorn-system
In Ports add nodePort: 31272 and change type: NodePort and save it
ports:
name: http
nodePort: 31272
port: 80
protocol: TCP
targetPort: http
selector:
app: longhorn-ui
sessionAffinity: None
type: NodePort
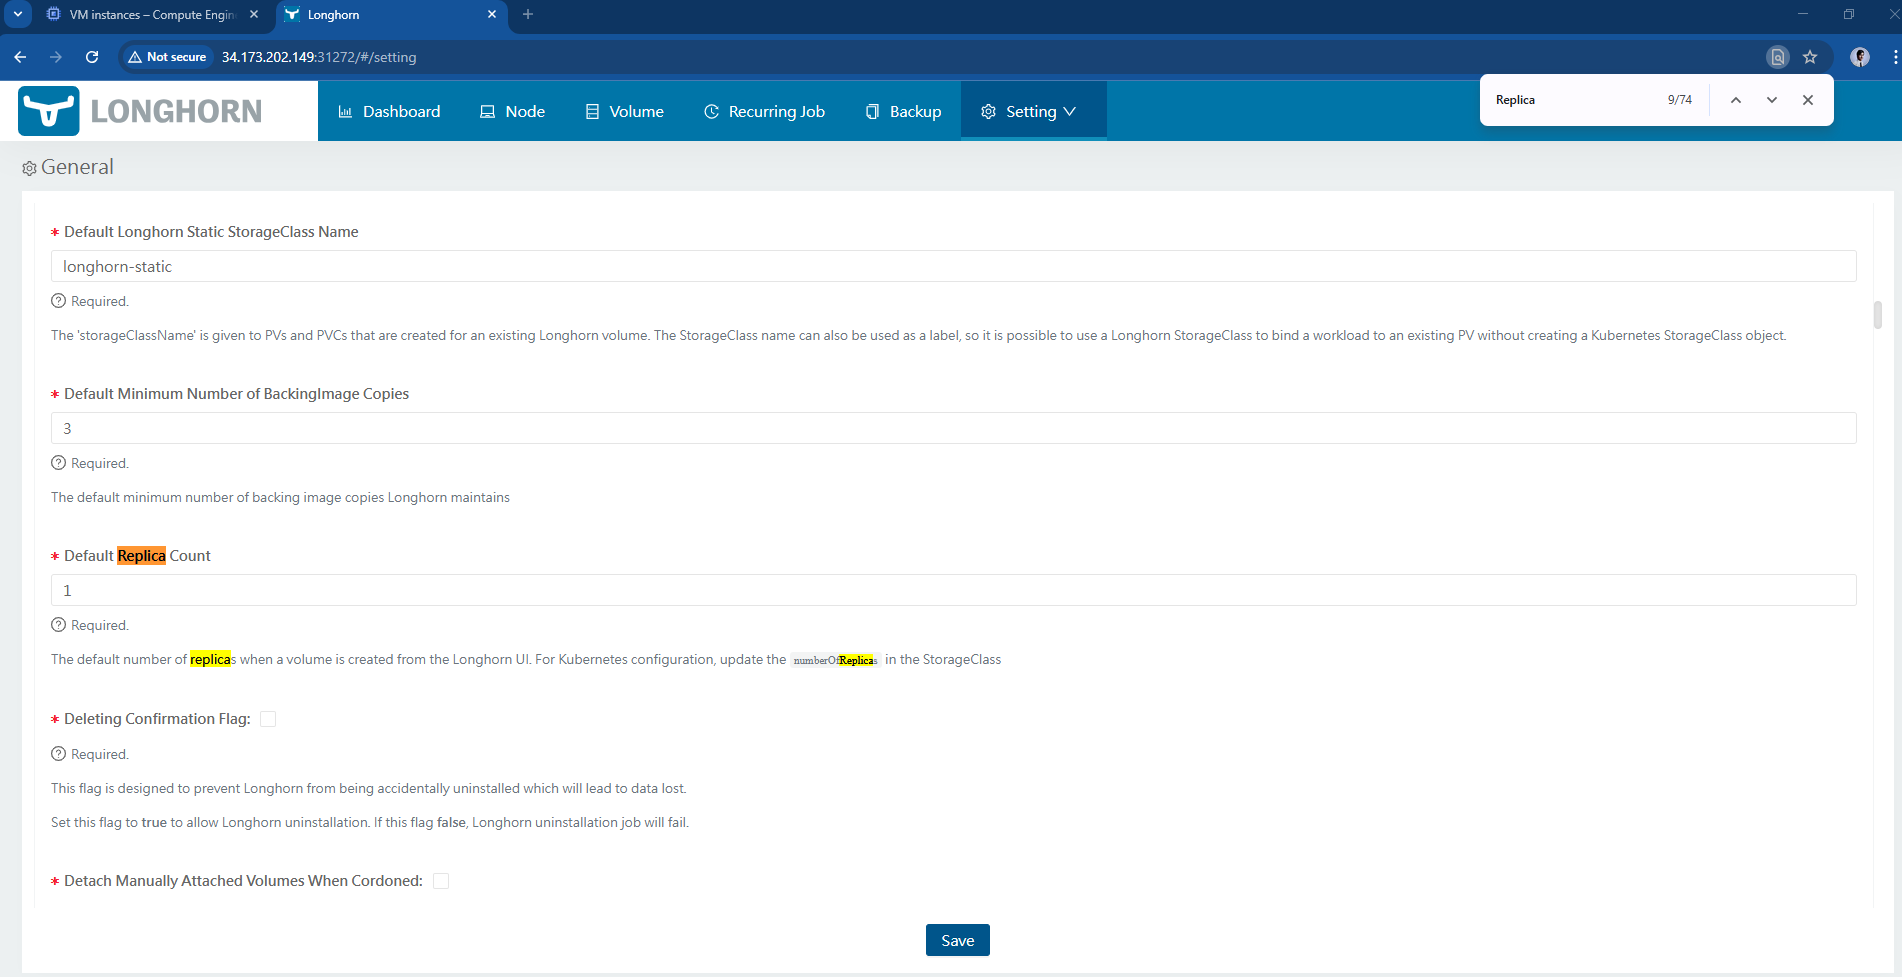
Go to Master IP:31272 for longhorn UI
- IN GUI. Go to Settings>General and change Default Replica count to 1 > Save
Using CLI ( if required )
- Edit the StorageClass longhorn using the kubectl edit command:
kubectl edit sc longhorn

Change the numberOfReplicas to 1 everywhere in the StorageClass configuration file
Save the changes made to the Longhorn StorageClass configuration file.